Installation
Suggested Installation Methods:
Remodel:
- Remove existing cove base along perimeter walls. Verify all grout and thin set materials have been removed from wall.
- Seal and cover all voids created by old cove base.
- Use shop vacuum to remove all small pieces of grout, thin set, and/or water.
New and Remodel
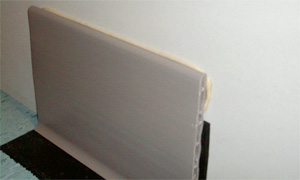
- Install sanitary cove base using splicers, end caps, inside corners and outside corners as required. Walls and floors are to be clean and free of dirt and dust to properly install base material.
- 90 and 135 degree corners are required to be installed using prefabricated inside and outside corners. All other corners are to be mitered and properly sealed with color matched adhesive/sealant. DO NOT SCORE AND BEND BASE MATERIAL TO WRAP CORNERS.
- Recommend commercial grade liquid nail product as adhesive and clear silicone to caulk if necessary.
Recommended Tool List:
- ½” Forstner Drill Bits
- Cordless Drill Gun
- Large Caulking Gun
- Hammer and Hand Chisel
- Small Caulking Gun
- Extension Cords
- Hammer Drill w/ Spade Bit
- Shop Vacuum
- 12” Compound Slide Chop Saw
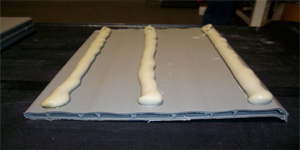
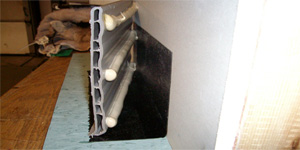
Apply (3) ¾” beads of sealant to the back side of the cove base.
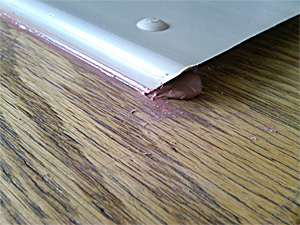
Apply (1) ¾” bead of sealant along bottom wall and floor joint.
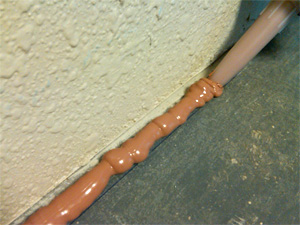
Push against wall until excess sealant oozes out at the top and bottom of base making sure adhesive/sealant is free of any voids or gaps.
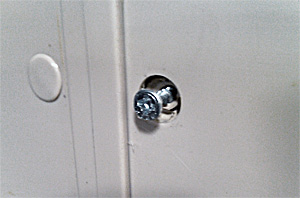
Drill ½” holes in the face of the base THROUGH FIRST LAYOR ONLY using 1/2” forstner bit only. Fasten base to wall with (1 1/4)”) screw. Apply sealant inside hole to make watertight.
Vertical dimensions to avoid ribs inside base are:
6 ½” from top to first hole, 4” from 1st to 2nd hole, 1” from bottom hole to bottom of base.
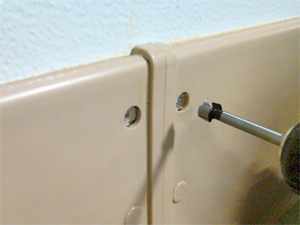
At splicers and end caps, the screws are to penetrate through tabs of splicers and end caps
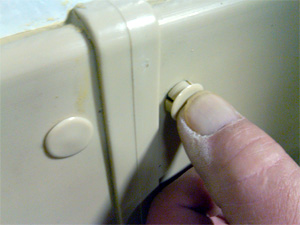
Once material is firmly attached to the wall,(approximately 2 screws per four feet), insert plastic button cover into ½” hole to cover the screws.
Carefully wipe away and remove excess adhesive/sealant for a smooth finished application or sealant can also be allowed to dry overnight and the excess can be carefully trimmed using a razor knife.